VSCode - Lua programming and debugging
After installing Lua language on Windows, we will see how to program and debug using VSCode.
Prerequisites
you must pre install VSCode. If you have not installed it, you can download and install it from https://code.visualstudio.com/.
Install Lua
Visit https://www.lua.org/download.html. Then click "get a binary".
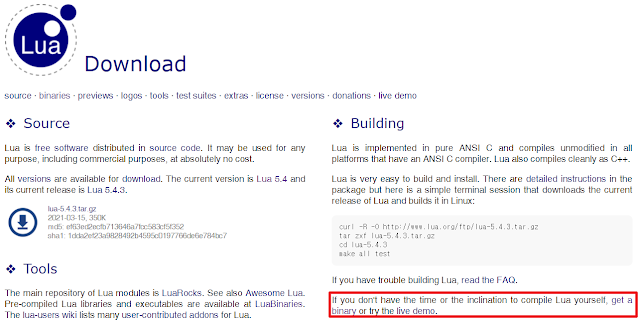
Then click Download in the list on the left.

Select Windows x64 Executables and download the zip file. Currently the latest version is 5.4.2, but there may be a higher version at the time of your download. Unless there is a specific reason, select the latest version. It is recommended to select x64 executable.

I unzipped it to c:\util\lua directory like this.

Now, add the lua executable file path (c:\util\lua) to the system environment variable PATH. You just need to add the directory where you unzipped

You can now run lua from the terminal. You can see that lua is working normally by opening a terminal and using the lua54 command as follows.

Lua programming in VSCode
The first thing to do is to create a directory in advance to store the lua script file. I will be programming in the C:\lsh\study\lua directory. Make a directory C:\lsh\study\lua in advance.
Launch VSCode and then click "File/Open Folder..." to open your working directory. I will use c:\lsh\study\lua. And in the c:\lsh\study\lua folder, make the first.lua file for testing as follows.

Then click "Terminal/Run Build Task..." in the VSCode menu. I get a message stating that there are no build tasks to run. Click on this message to edit the new build task. The build task file is saved in the current working directory. Therefore, it is valid only in the current working directory.


Select "Others"

This will open the tasks.json sample file. Delete this content and replace it with the following content and save it and close the tasks.json file. The tasks.json file wiill be stored at "C:\lsh\study\lua\.vscode".

{
  "version": "2.0.0",
  "tasks": [
    {
      "label": "Run Lua",
      "type": "shell",
      "command": "lua54",
      "args": [
        "${file}"
      ],
      "group": {
        "kind": "build",
        "isDefault": true
      }
    }
  ]
}
<tasks.json for lua>
Now select "Terminal/Run Build Task..." again in the first.lua file.

Debugging lua in VSCode
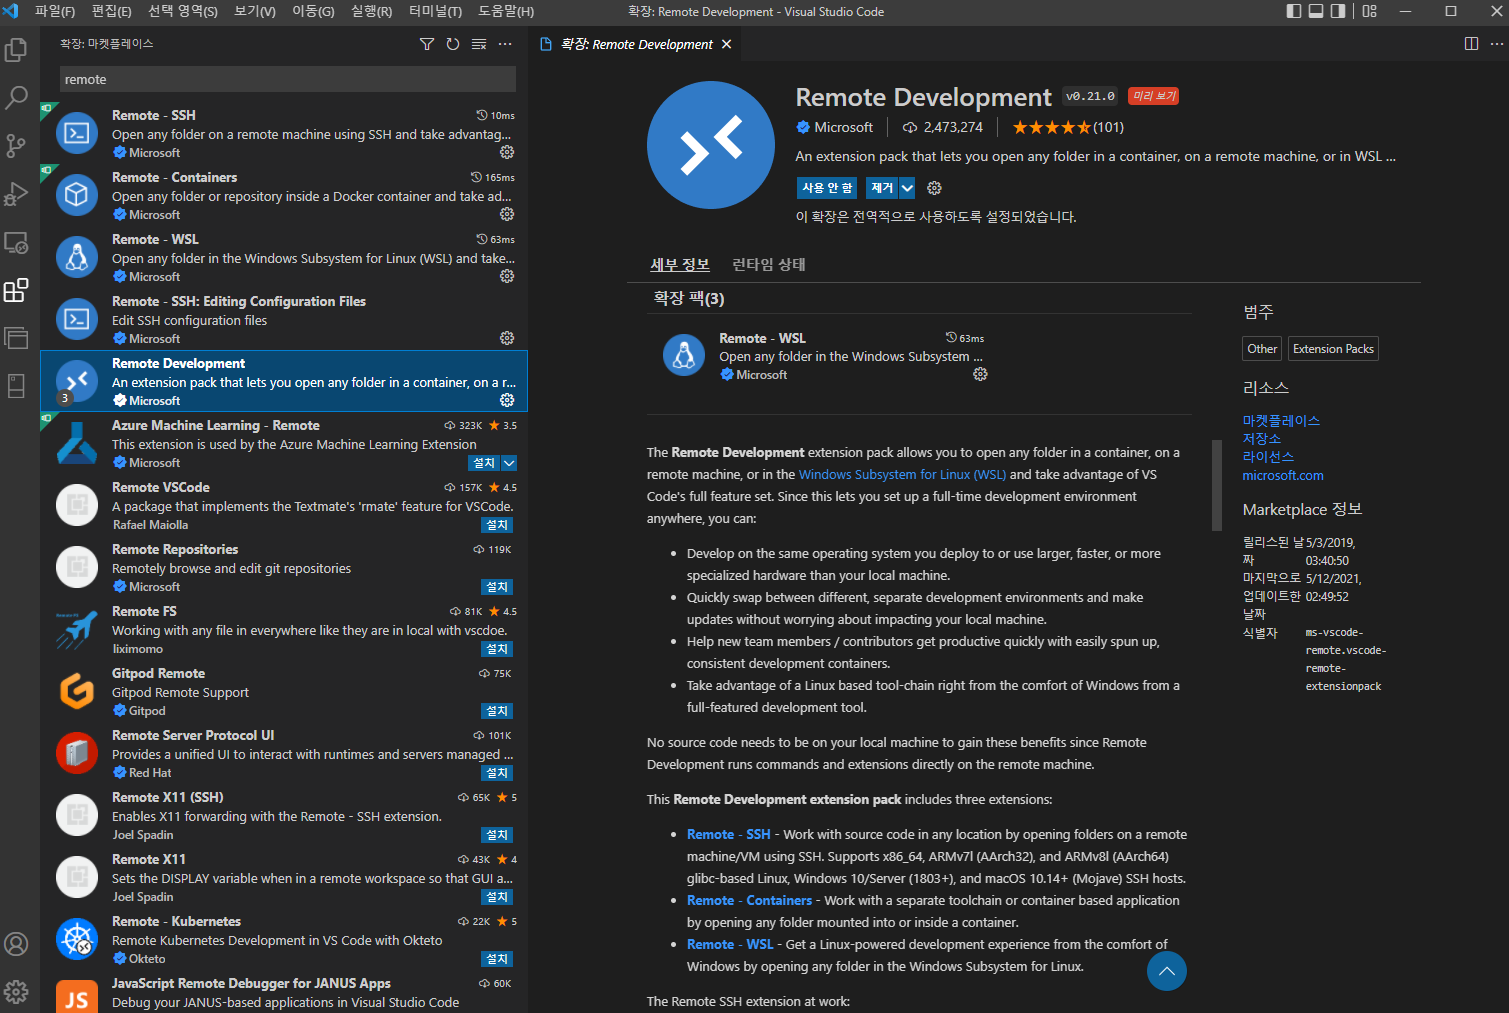
First, find the lua debugging extension in VSCode Extensions. I will install "Lua Debug" of actboy168, which is used by most people.

Debugging now. It's a very simple process.
This time, I made a simple example using Lua variables as follows. Then, on the Debugger tab, click Run and Debug.

As shown in the following figure, it can be seen that the debugging mode is entered immediately. By pressing the debugging button at the top, you can move to the next line by line and proceed to the next breakpoint. The most useful feature is that variable values are automatically displayed on the left panel, which is a great help in debugging.

Press F10 to move line by line. You can check the values of global variables a and b immediately.

Wrapping up
VSCode provides debugging for most languages including C/C++ and Python as well as Lua. Using GUI debugging in an integrated environment like VSCode will greatly improve your productivity. I hope this article will help you with your Lua programming.
댓글
댓글 쓰기